A step-by-step guide to using the RelayCommand class (based on ICommand) as means of handling user-initiated events in WPF / MVVM / XAML.
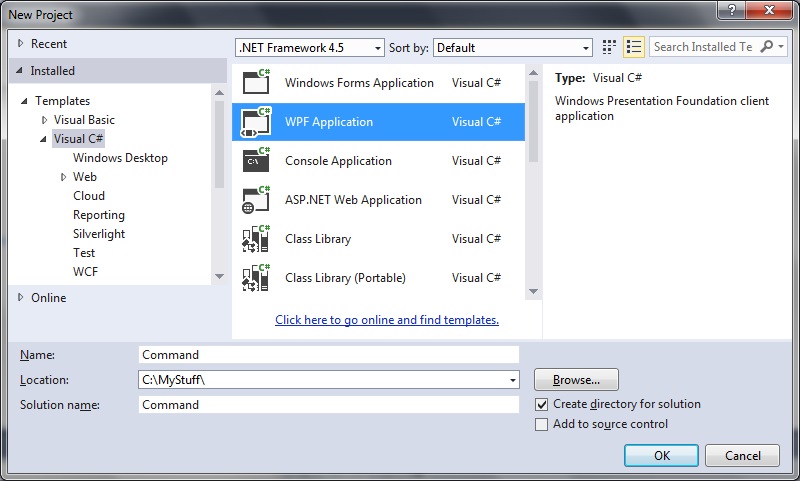
1. Create a new WPF application
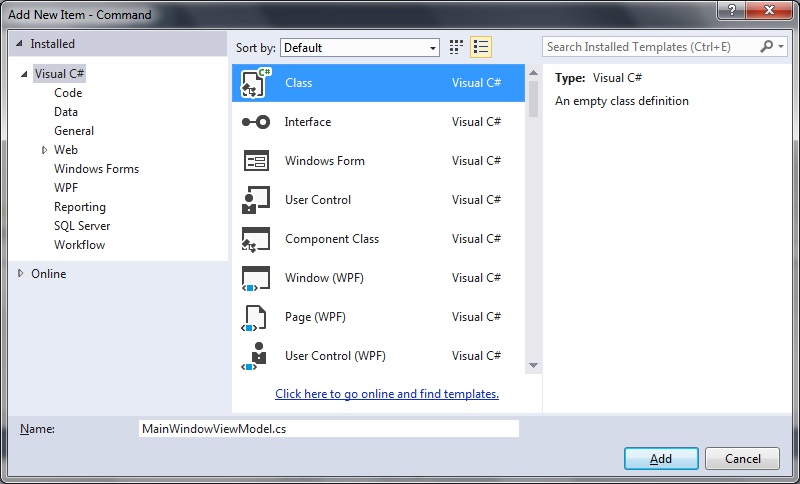
2. Add the View Model class
Right click your project folder and select Add > New Item > Class.
Name your class MainWindowViewModel.cs:
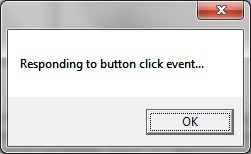
The MainWindowViewModel class will be used implement a very simple function to display a message box when it receives the incoming event.
Add the functions and code to MainWindowViewModel.cs as follows:
using System.Windows;
using System.Windows.Input;

namespace Command
{
   public class MainWindowViewModel
   {
      private ICommand _command;

      public ICommand Command
      {
         get
         {
            return _command ?? (_command = new RelayCommand(
               x =>
               {
                  DoStuff();
               }));
         }

      }

      private static void DoStuff()
      {
          MessageBox.Show("Responding to button click event...");
      }
   }
}
3. Add classes to implement RelayCommand, and event handling
As before, just right click your project folder and select Add > New Item > Class to add the following classes:
RelayCommand.cs
using System;
using System.Windows.Input;

namespace Command
{
   public class RelayCommand<T> : ICommand
   {
      private readonly Predicate<T> _canExecute;
      private readonly Action<T> _execute;

      public RelayCommand(Action<T> execute)
         : this(execute, null)
      {
         _execute = execute;
      }

      public RelayCommand(Action<T> execute, Predicate<T> canExecute)
      {
         if (execute == null)
         {
            throw new ArgumentNullException("execute");
         }
         _execute = execute;
         _canExecute = canExecute;
      }

      public bool CanExecute(object parameter)
      {
         return _canExecute == null || _canExecute((T) parameter);
      }

      public void Execute(object parameter)
      {
         _execute((T) parameter);
      }

      public event EventHandler CanExecuteChanged
      {
         add { CommandManager.RequerySuggested += value; }
         remove { CommandManager.RequerySuggested -= value; }
      }
   }

   public class RelayCommand : ICommand
   {
      private readonly Predicate<object> _canExecute;
      private readonly Action<object> _execute;

      public RelayCommand(Action<object> execute)
         : this(execute, null)
      {
         _execute = execute;
      }

      public RelayCommand(Action<object> execute, Predicate<object> canExecute)
      {
         if (execute == null)
         {
            throw new ArgumentNullException("execute");
         }
         _execute = execute;
         _canExecute = canExecute;
      }

      public bool CanExecute(object parameter)
      {
         return _canExecute == null || _canExecute(parameter);
      }

      public void Execute(object parameter)
      {
         _execute(parameter);
      }

      // Ensures WPF commanding infrastructure asks all RelayCommand objects whether their
      // associated views should be enabled whenever a command is invoked
      public event EventHandler CanExecuteChanged
      {
         add
         {
            CommandManager.RequerySuggested += value;
            CanExecuteChangedInternal += value;
         }
         remove
         {
            CommandManager.RequerySuggested -= value;
            CanExecuteChangedInternal -= value;
         }
      }

      private event EventHandler CanExecuteChangedInternal;

      public void RaiseCanExecuteChanged()
      {
         CanExecuteChangedInternal.Raise(this);
      }
   }
}
EventRaiser.cs
using System;

namespace Command
{
   public static class EventRaiser
   {
      public static void Raise(this EventHandler handler, object sender)
      {
         handler?.Invoke(sender, EventArgs.Empty);
      }

      public static void Raise<T>(this EventHandler<EventArgs<T>> handler, object sender, T value)
      {
         handler?.Invoke(sender, new EventArgs<T>(value));
      }

      public static void Raise<T>(this EventHandler<T> handler, object sender, T value) where T : EventArgs
      {
         handler?.Invoke(sender, value);
      }

      public static void Raise<T>(this EventHandler<EventArgs<T>> handler, object sender, EventArgs<T> value)
      {
         handler?.Invoke(sender, value);
      }
   }
}
EventArgs.cs
using System;

namespace Command
{
   public class EventArgs<T> : EventArgs
   {
      public EventArgs(T value)
      {
         Value = value;
      }

      public T Value { get; private set; }
   }
}
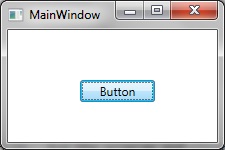
4. Update your main window – add a button
Modify the MainWindow.xaml file to add the button.
Notice that in the button XAML we include the Command=”{Binding Command}” to bind to command contained in the MainWindowViewModel command.
Also it is necessary to specify the DataContext.
<Window x:Class="Command.MainWindow"
        xmlns="http://schemas.microsoft.com/winfx/2006/xaml/presentation"
        xmlns:x="http://schemas.microsoft.com/winfx/2006/xaml"
        xmlns:d="http://schemas.microsoft.com/expression/blend/2008"
        xmlns:mc="http://schemas.openxmlformats.org/markup-compatibility/2006"
        mc:Ignorable="d"
        xmlns:local="clr-namespace:Command"
        Title="MainWindow"
        Height="150" Width="225">

    <Window.DataContext>
        <local:MainWindowViewModel />
    </Window.DataContext>

    <Grid>
        <Button
            Content="Button"
            Command="{Binding Command}"
		    HorizontalAlignment="Center"
            VerticalAlignment="Center"
		    Margin="10,10,0,0"
		    Width="75">
        </Button>
    </Grid>
</Window>
5. Try it!
That is all there is to it.
Run the program and click the button to verify that the ICommand is run and displays the message dialog as shown: